Creating a bootable pendrive
We usually install windows to our systems via a CD. However, there are chances that we have a malfunctioning CD drive or we do not have at all.So here is a way of using your USB drive as a booting device for installing windows.It works for windows vista and Windows 7.
There are two ways of installing windows through Pendrive:
1. Use Windows 7 USB-DVD Download Tool or Unetbootin.
1. Windows 7 USB-DVD Download Tool or UNETBOOTIN:
Just Download this Tool and Install on your Desired PC then follow some easy Steps:-
Download tool
I don't recommend the first method since it does not work properly for various systems.So here I am going to discuss the second alternative.
2.Use basic command prompt method.
Tools Required:
1. USB flash drive with a minimum capacity of 4 GB.
2. Windows 7 Setup DVD or a setup in your System.
Step 1 : Plug-in your USB flash drive.
Step 2: Open command prompt. Step 3: In CMD type:
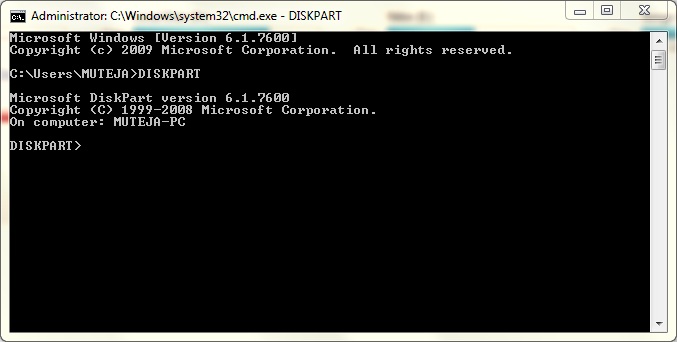
DISKPART
This will start the Microsoft DiskPart utility as shown below:
Now issue the following command:
LIST DISK
This will show you a list of available disks on your system. Disk 0 is usually the hard disk. In my case, Disk 1 is the USB drive (this can be a different one in your case if multiple pen drives are plugged in). Now issue the command as shown below:
SELECT DISK 1
In the above command, 1 is the USB drive number on my system. If you have a different number on your system, then you need to replace 1 with that number.
Step-4: Now issue the following list of commands one by one as shown below:
CLEAN
CREATE PARTITION PRIMARY
SELECT PARTITION 1
ACTIVE
FORMAT FS=NTFS QUICK
ASSIGN
EXIT
STEP: 5 Now go to the setup folders through Cmd and run Bootsect.exe as shown below
F:\windows7\windows7\BOOT>BOOTSECT.EXE/NT60 H: (H is the drive letter of pen drive used in my case)
Now exit CMD.
Step-6: Copy the contents of your Windows 7/Vista installation disk into the USB flash drive.


Comments
Post a Comment